Can You Really Hit The Goal of a Smaller Waist?
Yes, one of the things that I love about lifting weights is the ability to change your physique over time.
Genetics do play a role in how we look, yes, but to a certain extent, we can overcome genetics and create the physique of our dreams.
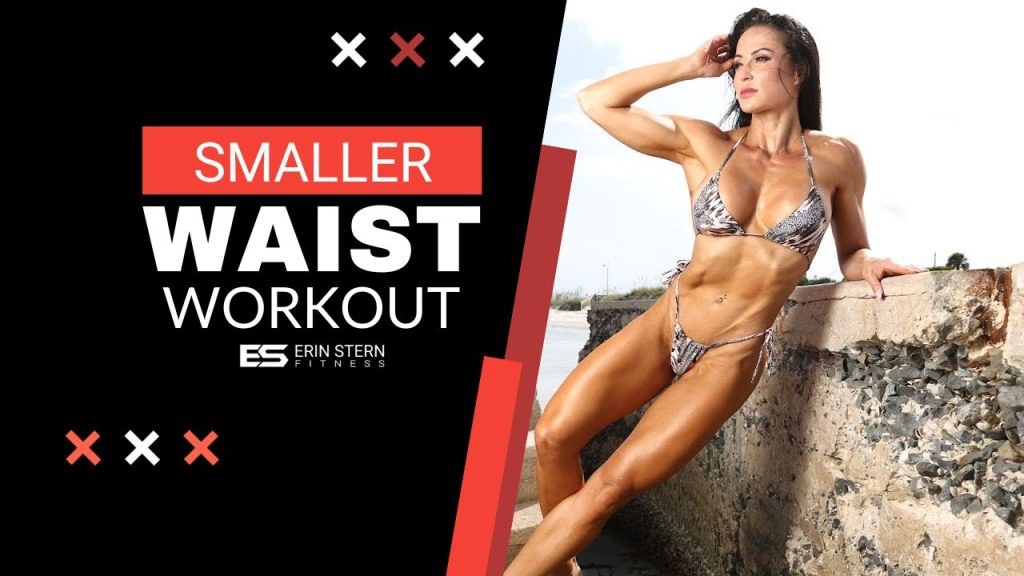
This workout I like to call the “smaller waist workout“.
This is accomplished in a couple of different ways.
1. The first way is to do exercises that decrease waist circumference. There’s one exercise in particular that we will be doing in this workout.
2. The other way to reduce waist size is to create the illusion of a smaller waist by adding strategic muscle.
And we’ll do that by adding strategic muscle to the upper back and to the rear delts, so you’ve got that beautiful X-frame.
Before we get into the workout, if you’ve watched any of these videos and you love the exercises but you’re not sure how to put them all together, I got you…
Go here for the the Erin Stern Fitness (ESF) Workouts.
There are tons of programs there, even a monthly subscription that gives you weekly workout programs, support, and live Q&As. So without further ado, let’s train.
Exercises For This Smaller Waist Workout
Exercise 1: Vacuums
Vacuums are the one exercise that will tighten up your waist and decrease waist circumference.
You want to shoot for 4-5 sets |10 -12 seconds each.
Think about rotating that pelvis forward just a little bit, blowing out all of your air, and pulling your belly button to your spine and just holding it.
Exercise 2: Wide grip high pull down.
Now, where you pull is going to affect where you hit on that particular muscle or muscle group. You can pull really high like I do in the video below.
When you do that, angles train angles, so it’s going to hit higher up on the back. Elbows are out, overhand grip, I’m wrapping my thumb around the bar for extra stability and weight is going to be relatively light here.
We’re of course hitting the lats, but our focus is also on hitting those smaller muscles in the upper back. This is what’s going to give us that beautiful width across the upper back. So, we’re focusing on rear delts, teres, infraspinatus, and rhomboids. Your lats are a big muscle.
If you go too heavy on this exercise, your elbows can drop, and you can hit a lot further down on your back rather than hitting the intended muscle groups.
Exercise 3: Dumbbell pullover.
This was actually one of Arnold’s favorite exercises, and it became one of my favorites. He said it expanded the rib cage. I’m not so sure about that, but I do know that I love it for hitting the lats.
A lot of people use it for chest training, but some cues that you can use that will help hit the back a little bit more than the chest are: definitely keep your feet planted on the ground.
Think about taking that dumbbell and pushing it towards the sky. I know it’s called a pullover, but if you focus on pushing that weight, it’s going to be a lot more effective in hitting the lats.
On the way up, you’re going to take a nice big exhale, soft elbows, and I like to stop the motion with my upper arms just before reaching perpendicular to the ground.
We want to use gravity. We don’t want the dumbbell perpendicular to the ground because then we lose all tension. The goal is to keep that constant tension. It’s going to help with creating and strengthening the mind-muscle connection. And again, think about pushing that dumbbell up to the sky.
Exercise 4: Single-arm pull down.
We’re going to spice things up a little bit by sitting sideways on the bench.
What this is going to do is it’s going to hit the back in a little bit of a different way. It’s going to allow you to pull that cable kind of over your head, across your body, and it will keep your arm right in line with your ear.
This will hit the back muscles right under the armpit area, which will help give you those “wings” to create that width across the upper back.
When you’re switching sides, make sure that everything is even from right side to left side. Perfect practice makes perfect, and if you set yourself up the exact same way from right to left, you can almost guarantee that you’re going to be building both sides evenly. Wrist stays nice and straight, overhand grip, and I like to add that pause rep.
It really helps solidify that mind-muscle connection. I’m, of course, pulling but also thinking about pushing that elbow down.
We’re going to move into a couple of exercises specifically for rear delts.
Exercise 5: Rear delt press
I’m using an adjustable bench that’s set to its highest setting. I am leaning forward just a little bit and going super light with the weights.
Rear delts are a very small muscle, so you want to make sure that you’re able to perform this exercise and hit this very small muscle. Pushing straight up, really paying attention that the right and left side are moving evenly.
Keep the elbow underneath the dumbbells, feet are planted on the floor, and I’m up against that bench, really using it for stability and focusing on pushing with just the rear delts. I go a little bit below parallel with the upper arms and press all the way up.
Exercise 6: Rear delt raise.
This one is brutally tough. Stand with feet shoulder-width apart, grab an easy bar (you can also use dumbbells for this). If you do use dumbbells, I would definitely suggest doing them single-arm so you can really control the range of motion. Using an overhand grip, push that bar right around the backside.
This smaller waist workout can be done once or twice a week, depending on your goals
Whatever your goals are in the gym, make sure you’re keeping track of your progress.
This can be in the form of:
- pictures
- measurements
- or even visually how you look and how your clothes fit.
Although it’s not as accurate, keeping measurements is a great way to stay on track and make sure you’re adding size to the places you want and reducing size where you’d like to decrease.
If you liked this workout…you can watch me do the smaller waist workout in the video below.
Consider joining the FIT Fam Letter so you can get updated tips, workouts, and free community access, and more!
Thanks for reading and watching!
Until next time, train smart and train hard!
📝 Notes For This Smaller Waist Workout
Creating a smaller waist can be done in 2 ways:
- Training the TVA/abs correctly and by…
- Building strategic muscle in the upper back and rear delts.
A strong TVA can help take inches off of your waist.
Smart weight training will give you the illusion of a smaller waist.
For full workout programs and support, check out http://erinsternfitness.com
Exercises mentioned in this smaller waise workout:
1). Vacuums
2). Wide grip pulldown (high pull)
3). Dumbbell pull over
4). Single arm pulldown
5). Rear delt press
6). Rear delt raise
*If you need a little help with taking progress pictures or keeping track of progress, I do have a video you can watch it here. It’s a really great resource.
You might also like this program...
Includes:
💪 Gym & Home workout options
📑 Macro Sheets
🥑 Food Lists
📕 Mock Peak Week with Sample Meal Plan

